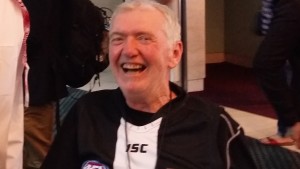
Have you seen the photos next to bloggers or people that comment onto blog posts? Have you ever wanted to have an image next to your post or comment? This photo is called a Gravatar and you can follow the simple steps below and have your very own Gravatar displaying on your posts or comments in about 10 minutes!
Step 1: Go to Gravatar.com 🙂 Easy right!
Step 2: Enter your email address and create a free account. A verification email will be sent to your email and once it’s verified you can login to the site.
Step 3: Once you’ve logged into the site, you can create your profile and update your info. Click the “My Account” button in the top right hand corner of the page. The menu drop down will offer some options, but for now click on ‘Add Image’. Select your image you want to display, crop it, save it, rate it and then select which email address it’s attached to for use on any site that uses that email address.
That’s it! Once this is done, you can edit your profile further to give some background on yourself and add whatever you want to it. You can also add additional email addresses if you use more than one for certain types of blogs you comment on or for blogs that you own. This is a great way for others to connect with you. Being anonymous is cool, but if you’re a serious blogger or you are an expert in certain areas of business or life, it’s the facial recognition that people will become most accustom with and will allow more social acceptance. Your new photo should be live on their server in about 10 minutes or so. If you have followed the steps and have refreshed a page you have posted on and it’s not appearing, try emptying your cache and see if that will do the trick.
🙂


